Disclosure: This article contains affiliate links. If you buy through them we may earn a small commission at no extra cost to you. We only recommend gear that meets current reptile care guidelines. See our affiliate disclosure.
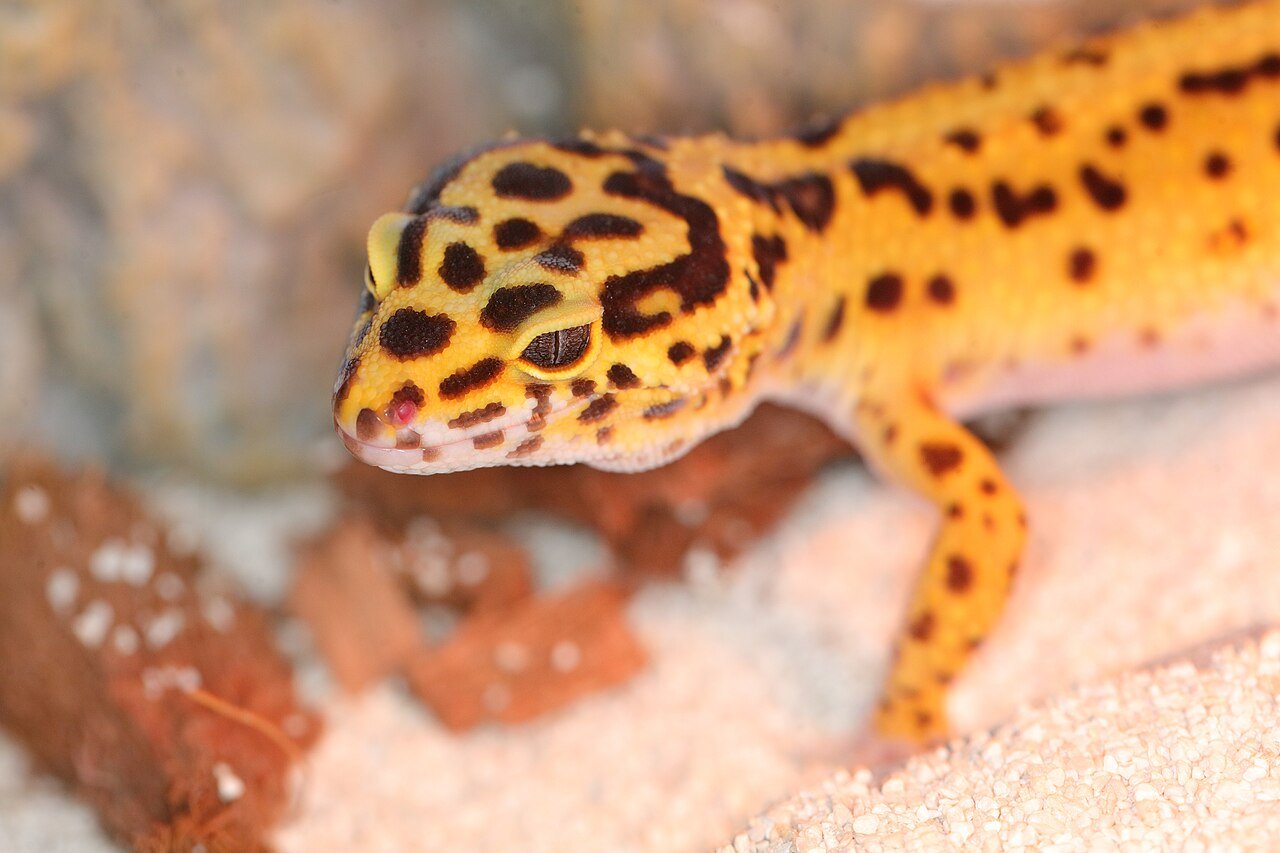
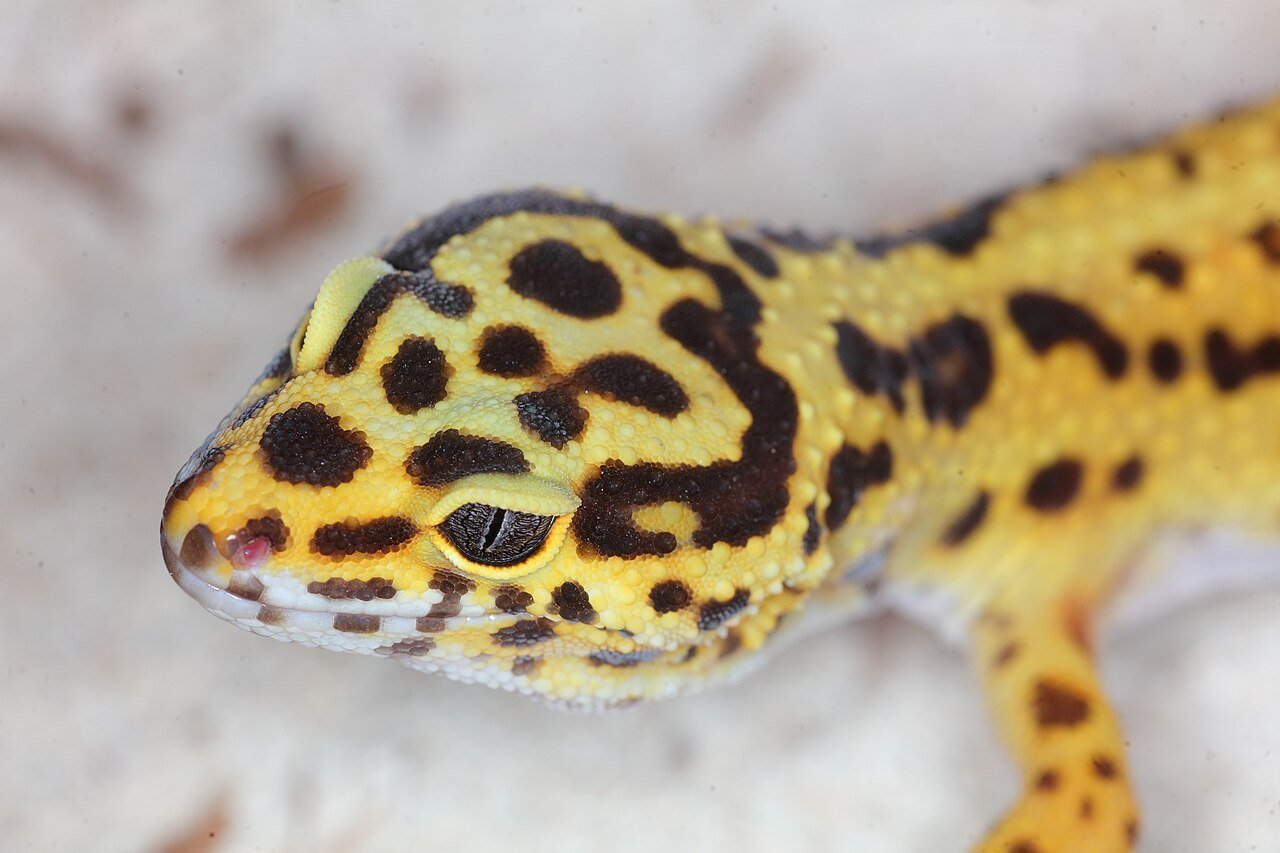
Setting up a leopard gecko tank correctly is the single biggest thing you can do to keep your gecko healthy for its 15–20+ year lifespan. Leopard geckos come from the dry, rocky grasslands and scrub of Pakistan, Afghanistan, northwest India and Iran. In the wild they shelter in burrows and rock crevices during the day and become active at dusk. A good enclosure recreates that with a proper heat gradient, several hides, safe substrate and, according to current care guidelines, low-level UVB. This step-by-step guide walks you through every part of the setup. For daily care, feeding and health, see our full leopard gecko care sheet.
Step 1: Choose the right enclosure size
Older advice suggested a 10-gallon tank, but modern guidelines recommend much more space. A minimum of about 36 × 18 × 18 inches (90 × 45 × 45 cm), roughly a 40-gallon breeder, is widely considered the minimum for one adult. Bigger is better: a 48 × 24 × 24 inch enclosure gives room for a stronger gradient, more décor and more natural behaviour.
Front-opening glass or PVC enclosures are easiest to work with, and they reduce the stress of being approached from above. Small starter kits, such as the Exo Terra Leopard Gecko kit, include useful accessories, but the 10-gallon tank in that kit is too small for an adult and should be treated as a temporary or quarantine setup only.
House leopard geckos alone. Males will fight, and cohabiting females often leads to stress and competition for food and hides.
Step 2: Plan the heat gradient
Leopard geckos need a warm side and a cool side so they can regulate their body temperature. Common targets are:
- Warm-side surface (basking area): about 32–35 °C (90–95 °F).
- Warm-side air: about 28–30 °C (82–86 °F).
- Cool side: about 22–26 °C (72–78 °F).
- Night: a drop to around 18–22 °C (65–72 °F) is fine for most homes.
Many keepers now use an overhead halogen flood as the main heat source, the same type of bulb we recommend in our heat lamp guide, but at a lower wattage. A Zoo Med Repti Tuff 50W halogen in a Zoo Med Mini Combo Deep Dome is a typical starting point for a 36-inch enclosure. Under-tank heat mats are also commonly used for belly heat, especially in cooler rooms. Whatever you use, every heat source must run through a thermostat.
Step 3: Add a thermostat and thermometers
A thermostat is not optional. Heat mats in particular can exceed 50 °C (120 °F) without one and cause serious burns. The Inkbird ITC-306T is an on/off thermostat that works well with heat mats and ceramic heat emitters. For a halogen basking bulb, a dimming thermostat gives smoother control. Use two digital probe thermometers, one on each side, and an infrared temperature gun to check surface temperatures.
Step 4: Consider UVB lighting
Leopard geckos are crepuscular, but research and current care guidelines show they benefit from low-level UVB. A low-output tube such as the Arcadia ShadeDweller 7% kit or a Zoo Med ReptiSun 5.0 T5 HO mounted on the warm side, with plenty of shade available, supports vitamin D3 production. Run lighting 12–14 hours a day on a timer. If you do not use UVB, a calcium supplement with D3 becomes essential, so talk to your vet about the right approach.
Step 5: Pick a safe substrate
Substrate is one of the most debated parts of leopard gecko care. Options generally fall into three groups:
- Solid substrates: paper towel, slate tile or non-adhesive shelf liner. Easy to clean and ideal for quarantine, juveniles and sick geckos.
- Loose naturalistic mixes: a blend of topsoil and play sand, often around 60/40 or 70/30, allows digging and more natural behaviour for healthy adults on proper husbandry.
- Avoid: calcium sand, walnut shell, wood chips and reptile carpet that can snag claws and teeth.
Step 6: Provide at least three hides
Hides are essential for a leopard gecko to feel secure. Plan for:
- A warm hide on the hot side, over or near the heat source.
- A cool hide on the cool side.
- A humid hide filled with damp sphagnum moss or coconut fibre to help with shedding.
The Zoo Med Reptile Shelter 3-in-1 (Medium) can be used as a humid hide, and cork bark, slate stacks and resin caves work well for the others. Extra hides and clutter make the enclosure feel safer.
Step 7: Add décor and enrichment
Leopard geckos climb more than many people expect. Add low branches, flat rocks, cork rounds and ledges, keeping everything stable so nothing can fall on the gecko. Live or artificial drought-tolerant plants add cover. Stack rocks on the floor of the enclosure, not on top of substrate, to prevent collapses.
Step 8: Water and humidity
Provide a shallow, wide water dish that is changed daily. Ambient humidity of about 30–40% suits leopard geckos, with the humid hide providing a higher-humidity microclimate. A digital hygrometer helps you monitor it. Avoid misting the whole enclosure heavily; damp, stagnant conditions can cause respiratory and skin issues.
Step 9: Supplements and feeding station
Leopard geckos eat live insects such as crickets, dubia roaches and black soldier fly larvae. Many keepers keep a small dish of calcium in the enclosure and dust feeders regularly. An all-in-one option such as Repashy Calcium Plus LoD is widely used. See our care sheet for a full feeding schedule.
Step 10: Test before your gecko moves in
Run the complete setup for at least two or three days before adding your gecko. Check temperatures morning and evening on both sides and adjust wattage or thermostat settings as needed. This is also a good time to confirm your timer and thermostat are working reliably.
Complete leopard gecko tank setup checklist
- Enclosure: 36 × 18 × 18 in minimum, front-opening preferred.
- Heat: halogen flood and/or heat mat, on a thermostat.
- Thermometers: two digital probes plus a temperature gun.
- Low-level UVB tube with shade available.
- Substrate: solid or a safe soil/sand mix.
- Three hides: warm, cool and humid.
- Climbing décor, plants and clutter.
- Shallow water dish and a hygrometer.
- Calcium and multivitamin supplements.
Frequently asked questions
What size tank does a leopard gecko need?
A minimum of about 36 × 18 × 18 inches (roughly a 40-gallon breeder) for one adult. Larger is better.
Is a 10-gallon tank OK for a leopard gecko?
Only temporarily for a hatchling or for quarantine. It is too small to create a proper gradient for an adult.
Do leopard geckos need a heat lamp or a heat mat?
Either can work. Many keepers now prefer overhead halogen heat, sometimes combined with a heat mat. Both must be controlled by a thermostat.
Do leopard geckos need UVB?
They can live without it if supplemented with D3, but current guidelines recommend low-level UVB because geckos benefit from it.
Can I use sand for a leopard gecko?
Avoid calcium sand. A soil and play-sand mix is used by many experienced keepers for healthy adults. Paper towel or tile is safest for juveniles and quarantine.
Can two leopard geckos live together?
It is best to house them alone. Cohabiting often leads to stress, fighting or one gecko being outcompeted for food and heat.
The bottom line
A good leopard gecko tank setup is spacious, has a clear heat gradient controlled by a thermostat, includes three or more hides, uses safe substrate and adds low-level UVB. Get these basics right before your gecko arrives, and you will avoid most of the common health problems seen in captive leopard geckos. Curious which reptiles make good first pets? See our guide to what reptiles you can own in the UK.
This guide is part of our leopard gecko care guides hub.